Vasculata
New Member
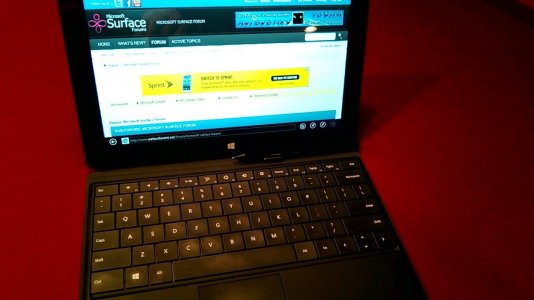
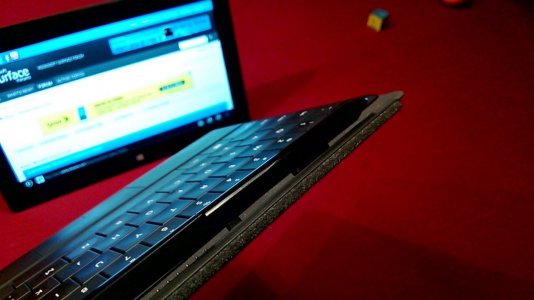
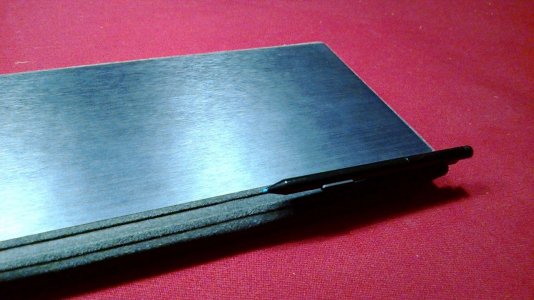
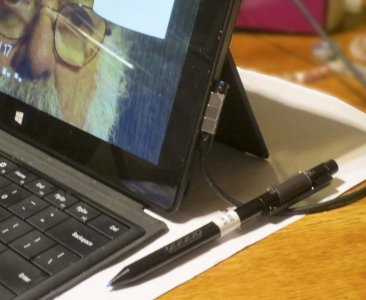
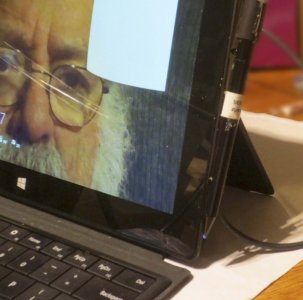
The way the pen/stylus attaches to the PRO is now .. at least for me solved.
This eBAY vendor sells very thin magnates ... 2mm square and about .5mm thin. They cost $4.25.
Set of 6 Neodymium RARE Earth Magnets Square Small Thin | eBay
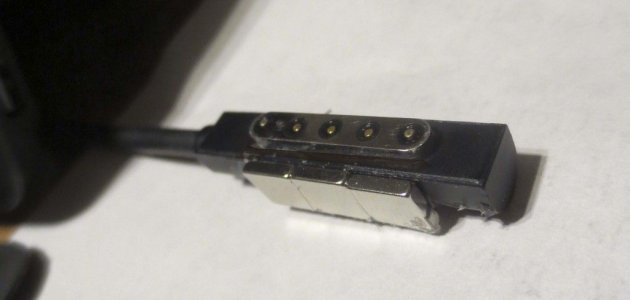
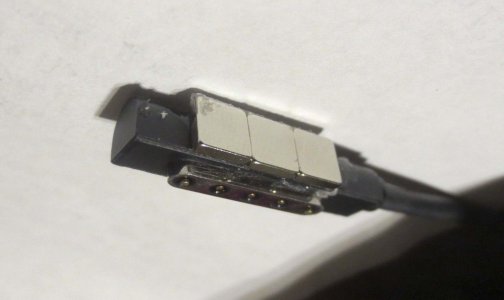
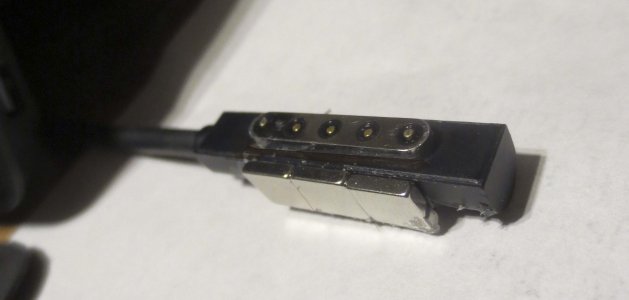
I glued three of these to the side of the magnetic power plug. Now, when the plug is in place, I simple let the pen/stylus adhere to the power plug.
YOU NEED: three magnets, clear packing tape, a backed razer blade (as in a box cutter), some toothpicks, GOOP adhesive.
1. To do this I took three of the tiny magnets and lined them in a row. It is important to rotate them so they attract each other..
To keep the alignment I adhered the row to to a strip of clear packing tape.
2. I then inserted the plug into the Surface with the LED pointing up. (That way when powere3d I can see the LED.)
3. You may want to practice applying the magnets strip to the front side of the plug. This is fairly easy because the magnets will "want to" adhere to the plug. When you are done, there will be tape on the surface of the surface. tape making a right angle where iut meets the magnets attached to the plug, and tape going around the back to the plug back to the surface. I rcommend putting the magnets near the ioddle of the adpater.
4. Remove the tape and magnets. You might want to move the magnets to a fresh strip of tape.
5. Apply a small amount of adhesive (I used GOOP) to the exposed side of the magents, Keep the amount of GOOP small .. I recommend no more that the volume of the magnets themselves. The amount of GOOP is important because you d not want any getting into the plug orifice on the Surface.
6. Repeat step three.
a. Press the magents firmly aganst the plug and square with the place where the plug enters the surface. This will express the excess GOOP.
b. adhere the tape to the front side, making sure to make a right angle where the magnets, the plug, and the surface meet. The top of the magnets will not be adjacent to the plug because the surface plug is curved. The gap should fill in with expressed GOOP.
c. Complete attaching the tape to the plug and Surface being careful not to disrupt the right angle whyere the magents. surface and plug meet.
7. Allow the GOOP to set over night. Remove tape. Use a single edged razer blade to remove excess dried goop. It may help to run the blade along the right angle where the magents meet the surface.
8. Carefully prie the plug free. I do this from the top where the LED is. The plug should easily come free.
9. Use the razer and or a tooth picke to clean of any excess GOOP attached ot the Surface. You can fo the same to clean up the plug.
You can now plug in and the len will attach to the front of your Surface.
I also added a magent to the other edge of the surface. Thsi ne is bigger, about 1 cm, and round. I use it as a sort of pen well,
If folks want, I will post some pix. :cool2::big smile:
As an eBay Associate we earn from qualifying purchases.

